

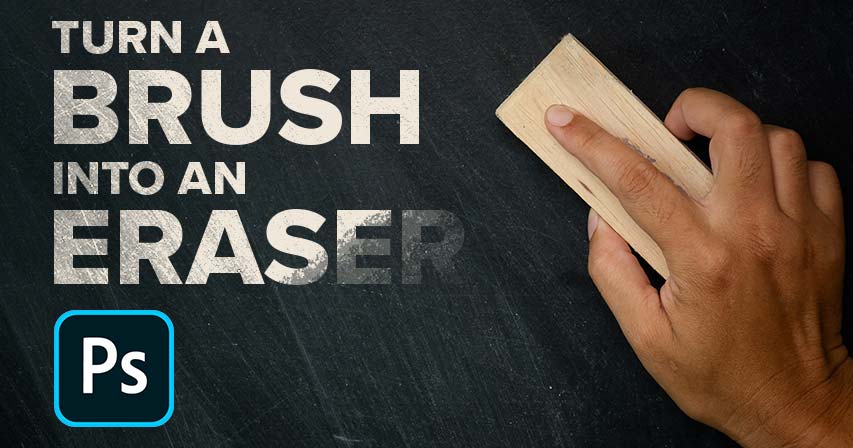
How To Set Your Eraser A Brush Photoshop
How to Plow Your Photoshop Brush into an Eraser
Learn two easy ways to instantly plough any Photoshop brush into an eraser, including a great new way in Photoshop CC 2020!
In this tutorial, I testify y'all 2 quick and easy ways to turn your current castor into an eraser when painting in Photoshop! Now yous may be thinking that the obvious way to erase a brush stroke is to use Photoshop'southward Eraser Tool. Simply the problem is that the Brush Tool and the Eraser Tool exercise not share the same settings. So if you switch to the Eraser Tool after painting with a custom brush, you'll exist erasing with a different brush or with different settings.
What if you want to erase using the same brush that you lot painted with? It'south actually very like shooting fish in a barrel, and in this quick tutorial, I'll show you lot ii means to practise it. The commencement mode uses blend modes and works with any contempo version of Photoshop. And the 2nd manner to erase with your electric current brush is brand new as of Photoshop CC 2020. At the end of the tutorial, we'll look at why turning your brush into an eraser only works when painting on a split up layer.
Let's go started!
Setting upwardly the document
To follow along, go alee and open whatever image to use as a groundwork. I'll use this blue texture that I downloaded from Adobe Stock:
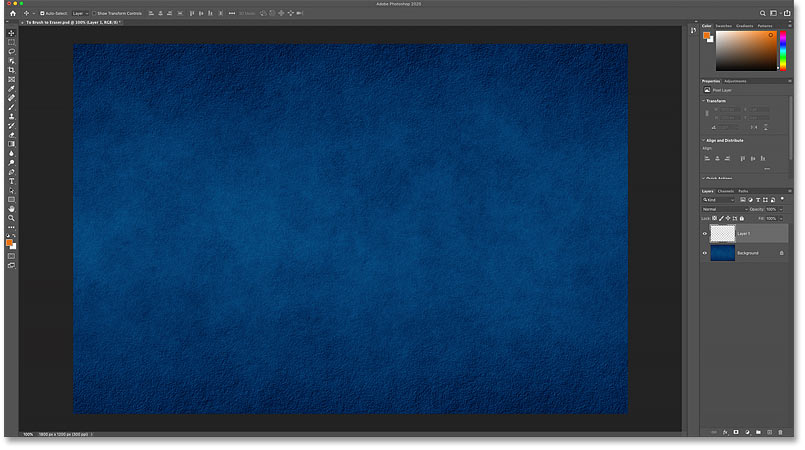
The original document. Groundwork from Adobe Stock.
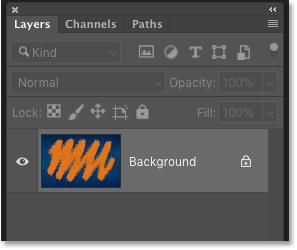
In the Layers panel, we see that I've added a new blank layer ("Layer one") above the Background layer. Information technology'due south very important that yous paint on a divide layer, as we'll see later on:
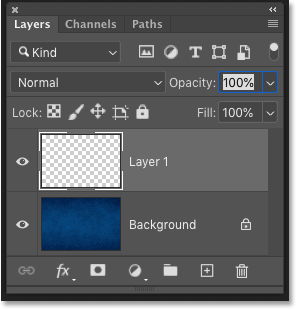
The Layers console showing the blank layer to a higher place the background.
Painting with the Brush Tool
First, let's add together a castor stroke using the Brush Tool.
Selecting the Brush Tool
Start by selecting the Brush Tool from the toolbar:
Selecting the Brush Tool.
Related: How to customize the toolbar in Photoshop
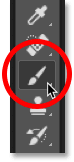
Choosing a brush
Then to cull a brush, correct-click (Win) / Control-click (Mac) inside the document to open Photoshop'due south Brush Preset Picker. I'll twirl open the Dry out Media Brushes ready and I'll cull a Charcoal castor.
Note that Adobe made changes to the brushes back in Photoshop CC 2018. And so if you're using an earlier version, your listing of brushes will look dissimilar. For this tutorial, it doesn't matter which castor yous cull, but selection something other than a standard circular brush:
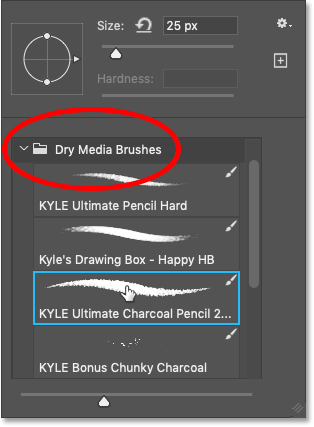
Choosing a castor from the Castor Preset Picker.
Choosing the brush color
With your brush selected, click the Foreground color swatch in the toolbar:
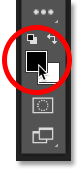
Clicking the Foreground colour swatch.
And then choose a color for your brush from the Color Picker. Once more it doesn't matter which color yous pick for this tutorial. Just if you're post-obit along with me, I'll choose orange past setting the H (Hue) value to 27, the B (Effulgence) value to xc, and the S (Saturation) value also to 90. Click OK when you're done to close the Colour Picker:
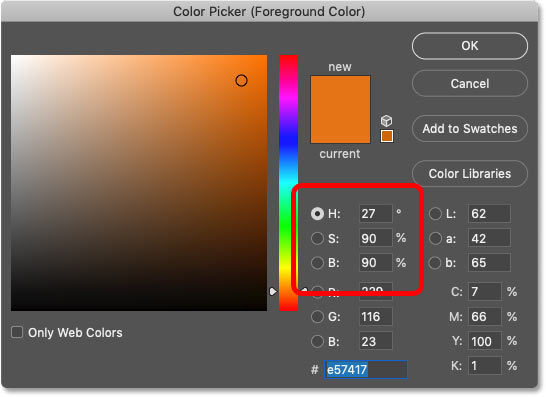
Choosing a brush color from the the Color Picker.
Painting the brush stroke
To resize your castor, use the left or right bracket primal on your keyboard. The right bracket key ( ] ) makes the castor larger and the left bracket key ( [ ) makes it smaller.
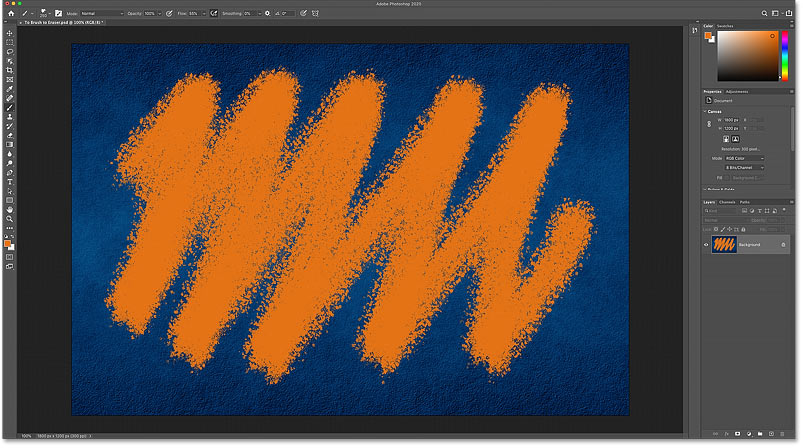
And then if yous take bodily painting skills, go ahead and outset painting something impressive. Or if you're more than like me, just scribble something. And we at present have a castor stroke in front of the background:
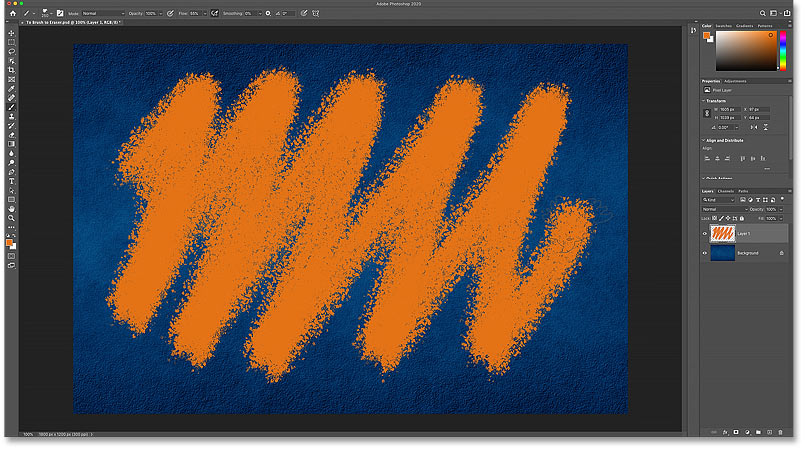
Painting a stroke with the Castor Tool.
Related: How to save your brushes as custom presets!
Erasing the brush stroke with the Eraser Tool
What if we demand to erase some of the brush stroke? The Eraser Tool seems like the obvious choice, then get alee and select the Eraser Tool from the toolbar:
Selecting Photoshop's Eraser Tool.
Only as soon as nosotros kickoff dragging over the brush stroke with the Eraser Tool, we run across the trouble. The Eraser Tool is using a different brush than the one nosotros painted with. That's considering the Brush Tool and the Eraser Tool are separate tools, and they each have their own settings.
In my case, the Eraser Tool is using a standard round brush set up to a much smaller size than what I painted with. Then the result is not was I was hoping for:
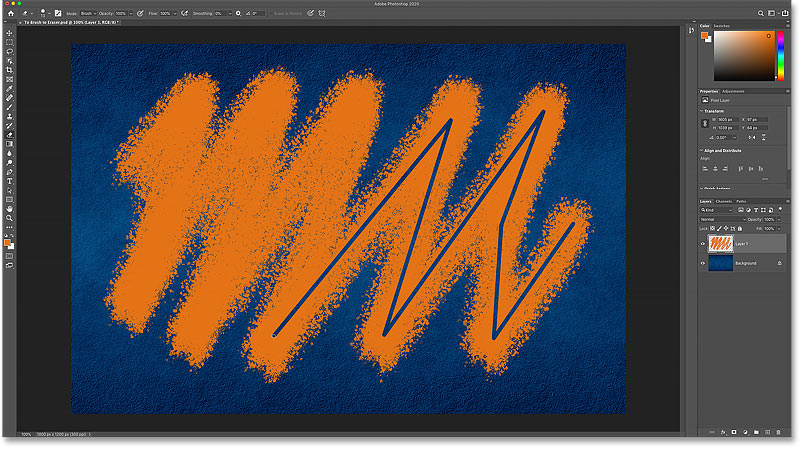
Trying to erase the castor stroke with the Eraser Tool.
Undoing the Eraser Tool
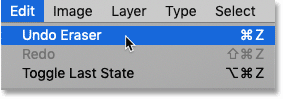
To undo the damage caused by the Eraser Tool, go up to the Edit card in the Carte du jour Bar and choose Undo Eraser. Or printing Ctrl+Z (Win) / Command+Z (Mac) on your keyboard:
Going to Edit > Undo Eraser.
Two ways to turn your Photoshop castor into an eraser
Rather than using Photoshop'southward Eraser Tool to erase a brush stroke, we tin can really plow the Brush Tool itself into an eraser, which means nosotros'll be erasing using the same brush and settings that we painted with! And there are two easy means to do information technology. One works with whatsoever recent version of Photoshop, and one is brand new as of Photoshop CC 2020.
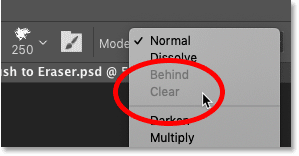
Method 1: Change the brush blend mode to "Clear"
This first fashion to turn your brush into an eraser works with whatever recent version of Photoshop. With your Castor Tool still agile, become upward to the Options Bar and change the castor blend mode from Normal to Clear:
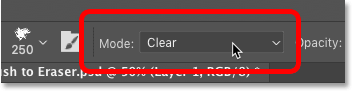
Changing the brush'southward blend mode to "Clear".
Then but paint over the stroke, and any area you paint over disappears:
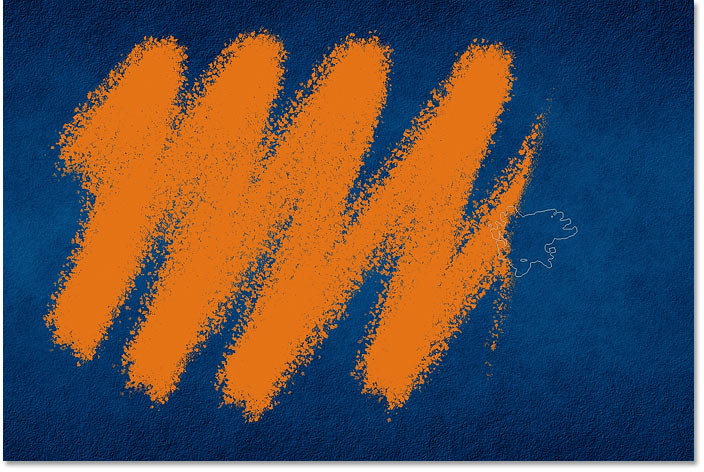
Erasing the castor stroke using the Clear blend style.
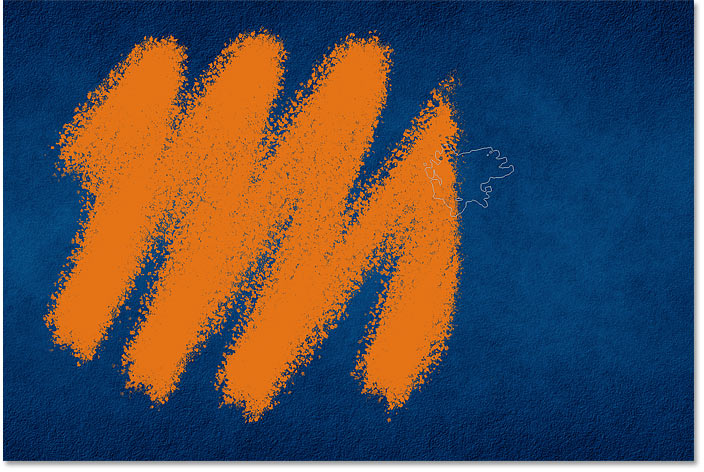
Once y'all've erased the area, you tin can keep painting by setting the blend mode back to Normal:
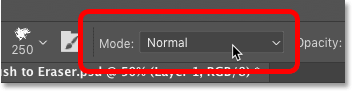
Setting the castor blend way to "Normal".
Tip! Changing the brush blend manner from the keyboard
And here's a faster way to switch between the two brush blend modes. With the Brush Tool active, press Shift+Alt+R (Win) / Shift+Option+R (Mac) to alter the brush blend mode to Clear. And then when yous're done erasing, printing Shift+Alt+North (Win) / Shift+Option+N (Mac) to set the alloy fashion dorsum to Normal.
Related: Photoshop blend way tips and tricks!
Method 2: Use the tilde (~) fundamental
Equally of Photoshop CC 2020, there'southward now an even faster fashion to switch the Brush Tool between "paint" and "erase" modes. Merely printing and concur the tilde (~) cardinal on your keyboard. On an American keyboard, the tilde key is found directly nether the Esc primal in the upper left.
Hold down the tilde key to temporarily turn your brush into an eraser, which lets you erase using the same brush and settings that yous painted with. And so release the tilde key to go on painting:
Hold the tilde key to temporarily turn your brush into an eraser.
Related: More than hidden tips and tricks for Photoshop's brushes!
Why y'all can't erase on the Background layer
Earlier, I mentioned that it's very important to paint on a separate layer rather than painting directly on the Background layer. So let's finish upwardly with a look at what happens when we endeavor to erase a brush stroke that nosotros've painted on the Groundwork layer.
Hither's the aforementioned brush stroke I started with:
Painting the same brush stroke.
But in the Layers panel, nosotros run across that instead of painting on a separate layer, this time I've painted directly on the Background layer:
The stroke has been painted direct on the Background layer.
Problem #1: The Clear blend fashion is unavailable
The first method nosotros looked at for turning your brush into an eraser was by irresolute the brush'due south blend mode to Articulate. Just if you've painted on the Groundwork layer, you'll detect that the Clear blend mode in the Options Bar is grayed out and unavailable. So this first method won't work:
The Clear blend mode is grayed out when painting on the Groundwork layer.
Problem #2: The Background layer does not support transparency
And the second method was to printing and hold the tilde key to temporarily turn the brush into an eraser. But the chief reason why we can't erase a brush stroke on the Background layer is because Background layers do not support transparency. So even though you can even so concord downwardly the tilde key to erase, you won't get the result yous were expecting.
Instead, observe that with my tilde key held down, all I'm doing is painting with white. Where is the white coming from? Since Background layers exercise non back up transparency, Photoshop is instead filling the erased areas with the current Groundwork color, which past default is white:

Trying to erase the brush stroke on the Background layer.
You'll observe your current Background color in the Background color swatch in the toolbar:

The Background colour swatch in the toolbar.
So again, if you want to exist able to erase your brush strokes, brand certain yous paint on a separate layer. And even if you won't need to erase them, painting on a separate layer will withal allow you to work non-destructively and prevent any permanent changes to your groundwork image.
And there nosotros have information technology! That's two like shooting fish in a barrel ways to plough your brush into an eraser in Photoshop! Bank check out our Photoshop Nuts section for more than tutorials. And don't forget, all of our Photoshop tutorials are available to download as PDFs!
Other Stuff
© 2022 Photoshop Essentials.com.
For inspiration, not duplication.
Site pattern by Steve Patterson.
Photoshop is a trademark of Adobe Systems Inc.
Source: https://www.photoshopessentials.com/basics/turn-a-photoshop-brush-into-an-eraser/
Posted by: melendezyouch1992.blogspot.com
0 Response to "How To Set Your Eraser A Brush Photoshop"
Post a Comment